CMOS (Complementary Metal Oxide Semiconductor) battery aka BIOS battery is a coin-sized lithium-ion battery responsible for powering the CMOS RAM located inside the chipset of the motherboard. CMOS RAM stores all the necessary information of BIOS such as Date and time, CPU type, speed, RAM size, type, frequency, and even the boot priority settings.
Read Now: How to Check Your PC Specs: Find Your CPU, GPU, Motherboard, & RAM!

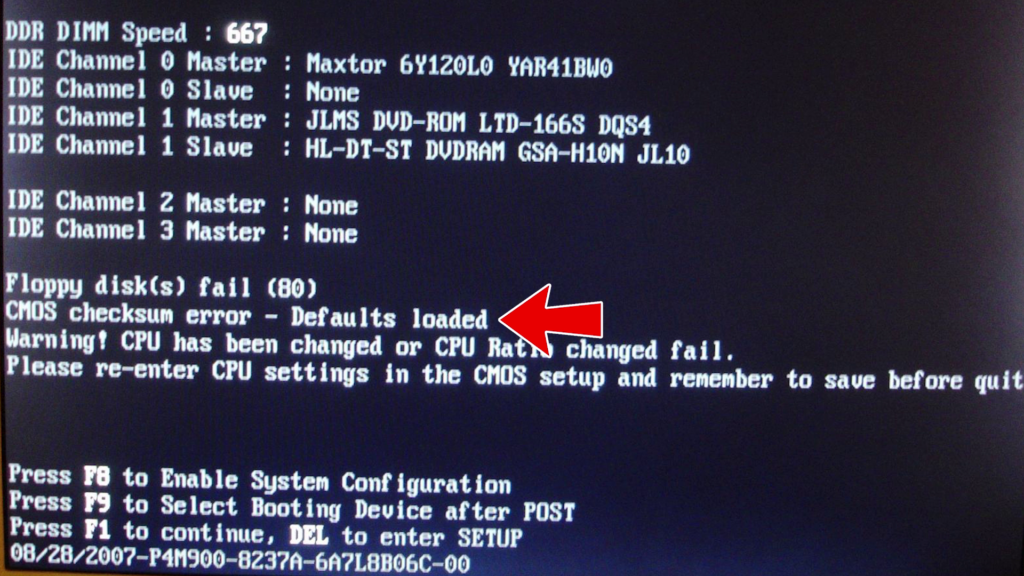
That means if the CMOS battery fails, the computer may not boot up to the operating system. Errors like the following can be seen.
- CMOS Read Error
- CMOS Checksum Error,
- CMOS battery failure
- System battery voltage is low
- Operating System Not Found
And definitely, the computer loses its date and time settings if the CMOS battery is dead. Now, one should have to replace it for a smoother computer usage experience otherwise, every time when you boot up your computer, you have to configure things like CPU Clock if you have overclocked it, RAM frequency if you have enabled XMP or DOCP, Data and Time, and even boot priority settings.
How to Identify a CMOS battery?
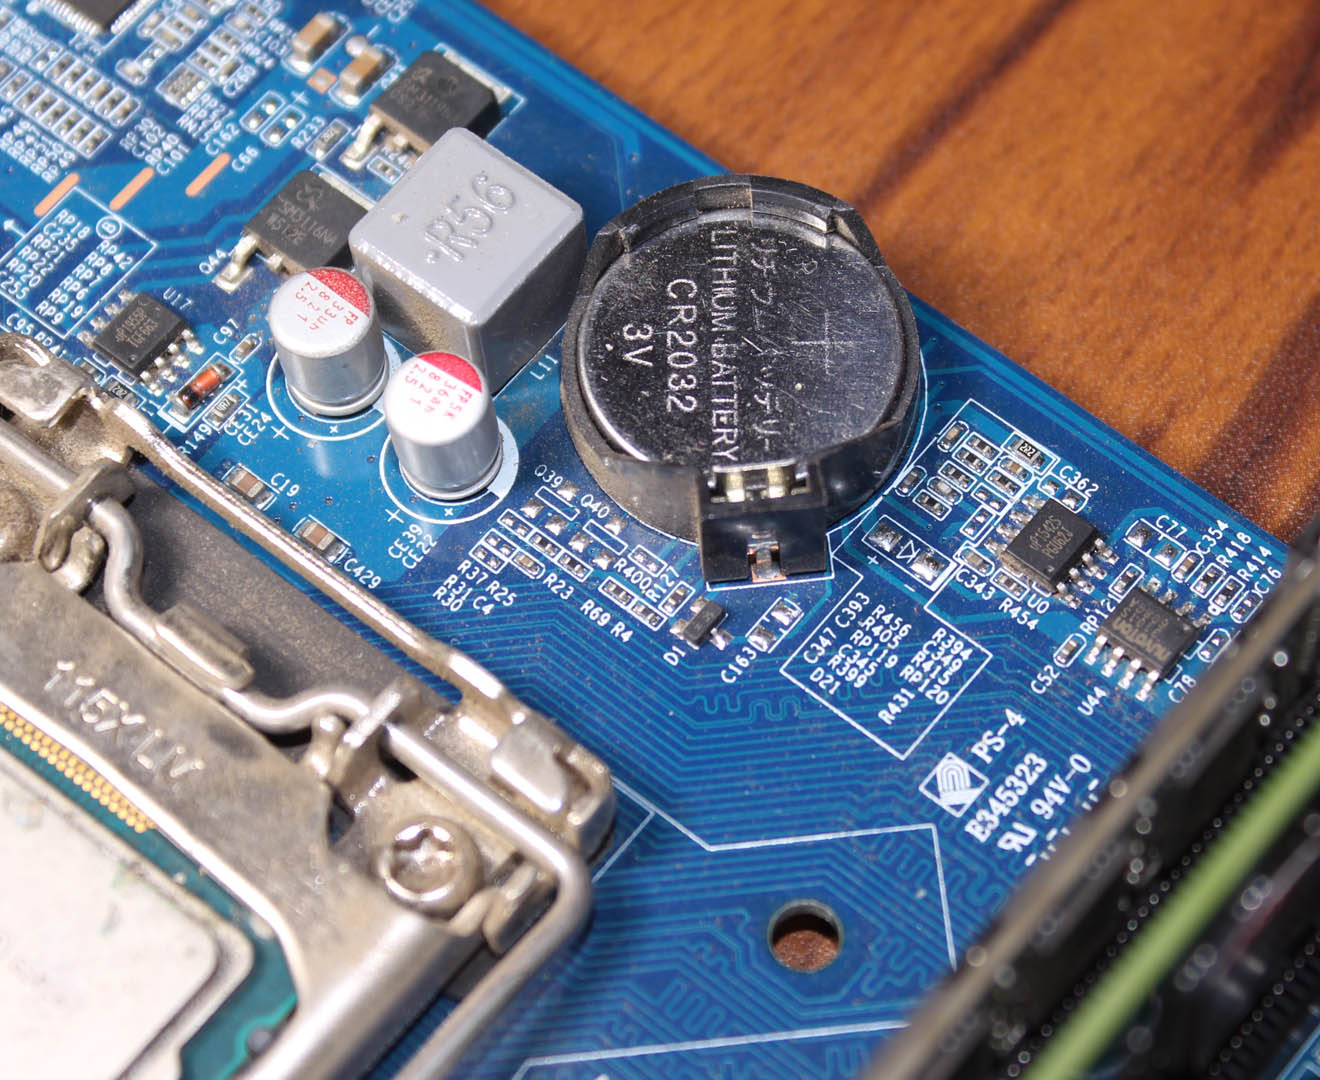
If you have ever opened your computer’s case then you guys have probably seen a small battery somewhere on the motherboard. It is in round shape and on the desktop PCs, it is placed on a socket with a clip as shown on the image below.

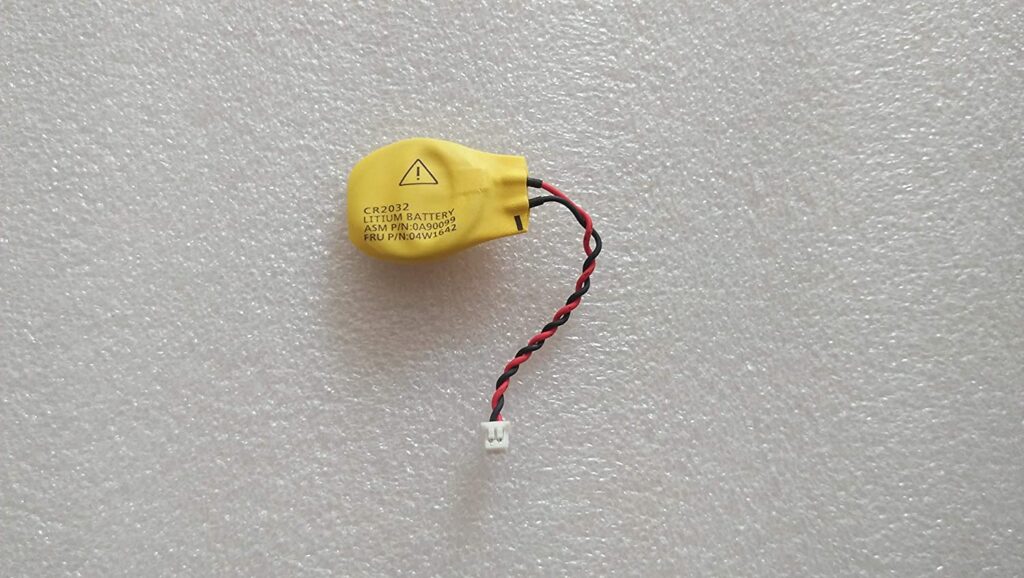
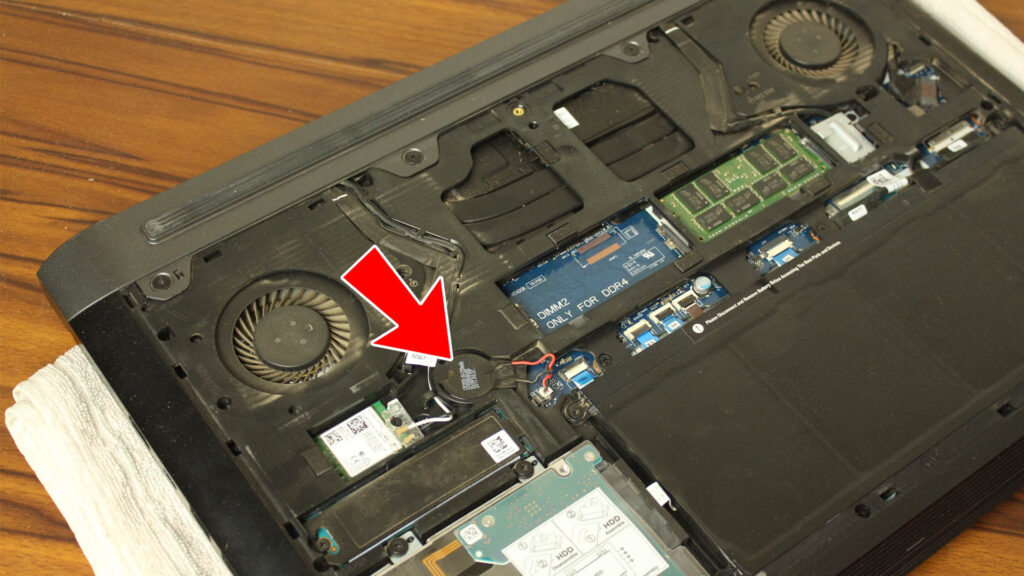
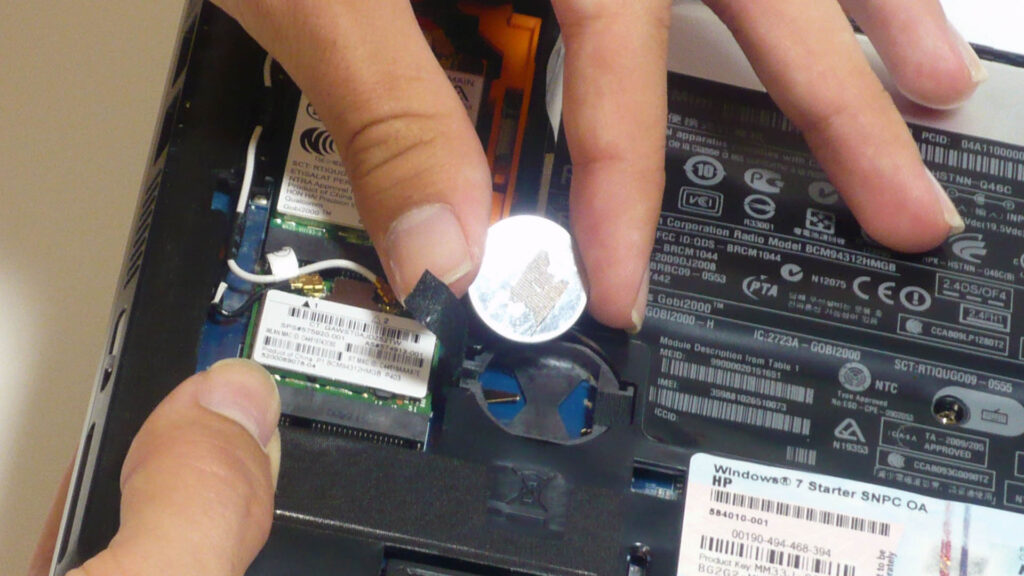
For laptops, it is mostly packed in a black plastic package from where two wires are coming out that are connected with the motherboard as displayed on the image below and mostly the laptop’s CMOS battery is a bit smaller than desktops. Sometimes though, laptops use the same socket and battery type as desktops.
Purchase the Replacement CMOS Battery
In desktop computers, motherboard manufacturers mostly use CR2032 battery as a CMOS battery but we can’t say anything about laptops as depending upon the manufacturers and models, the battery type will vary. You have to check inside your laptop what kind of battery your laptop is specifically using. You can find this information by googling the model number of your laptop too.
How to Replace CMOS Battery?
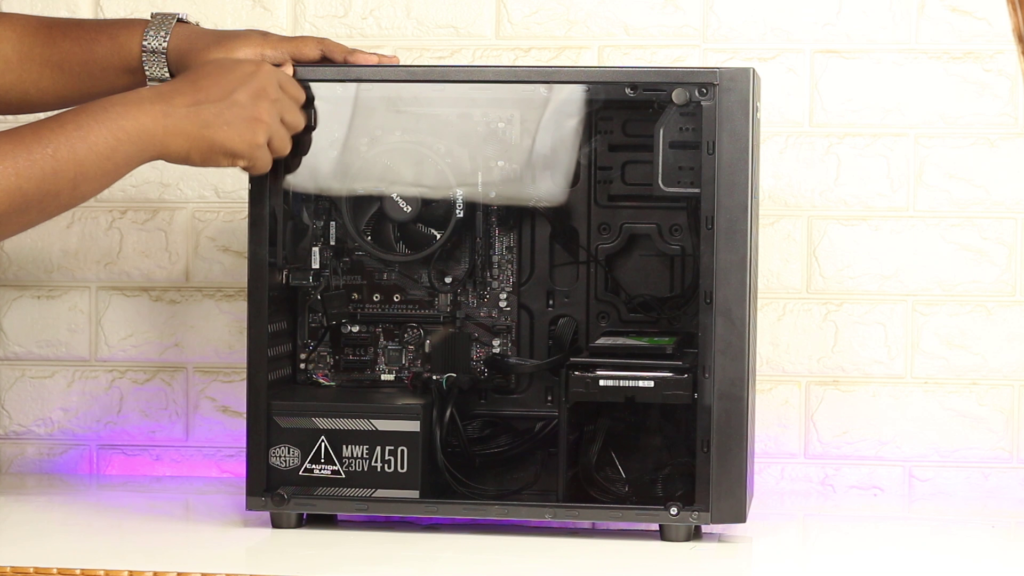
Replacing the CMOS battery of a desktop computer is pretty simple. Turn off your computer, unplug it from the wall outlet and from all the peripherals. Now, remove the side panel of your desktop PC and locate the CMOS battery on the motherboard.
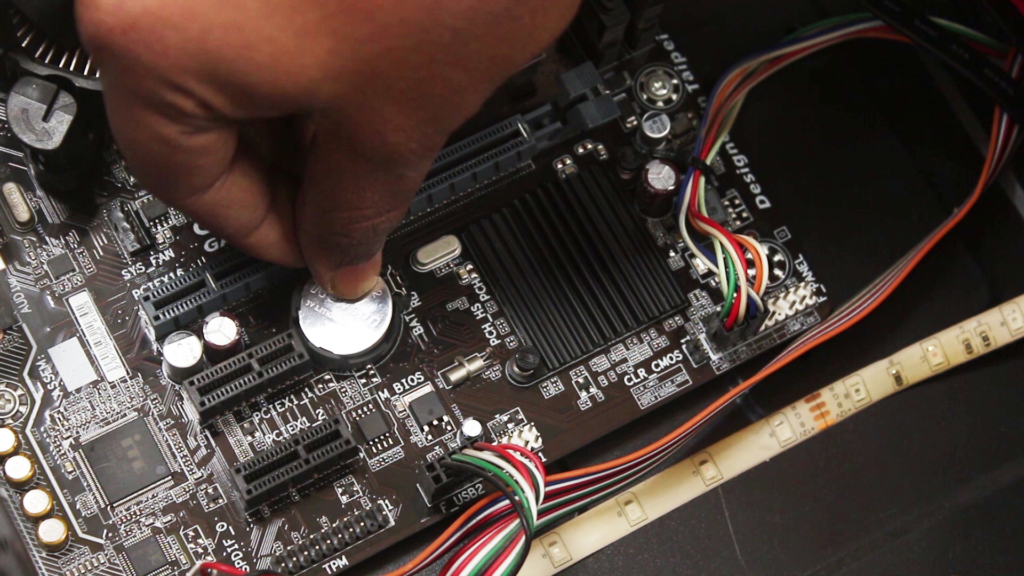
Mostly, the battery is placed inside a socket consisting of a small clip that you have to pull side-wise which makes the battery jump of from the socket a bit. Now, you just have to pull the battery out.
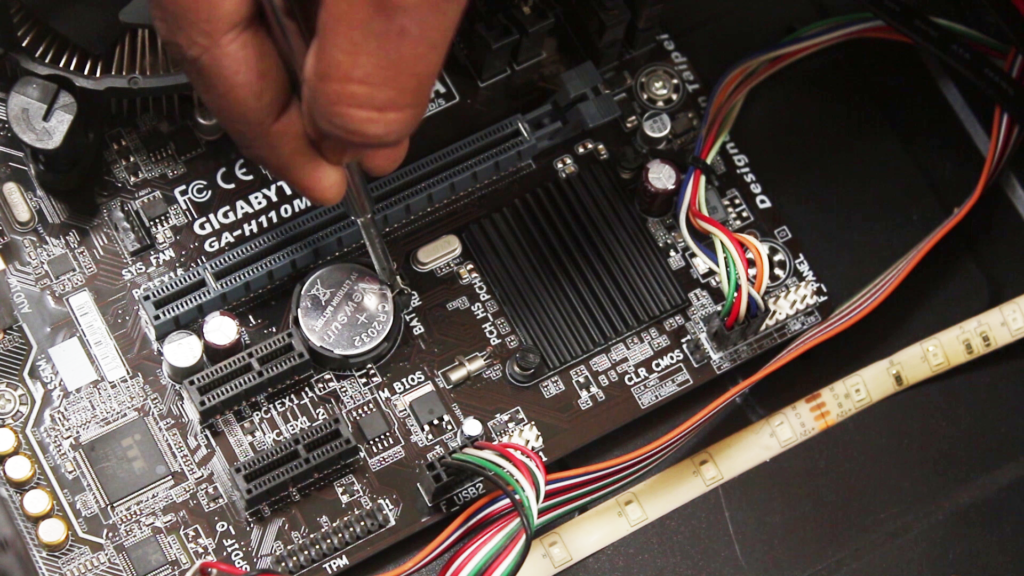
However, not all motherboards feature a clip system. For them, use your fingers to grab the edge of the battery and pull it up and out of the socket, hold it in place.
Even some motherboards are available that don’t offer removable CMOS battery then you have to use ESD safe soldering iron and remove the old battery. In place of the battery, you have to solder wires with the battery’s positive and negative terminals. Then, solder the new battery with these wires. Keep in mind the polarity of the battery. If you connect the battery in reverse then it may damage your motherboard!
For the laptops, you don’t need to disassemble the full laptop rather just need to remove the back panel of the laptop to access the dead CMOS battery of your laptop.
Connecting the New Battery
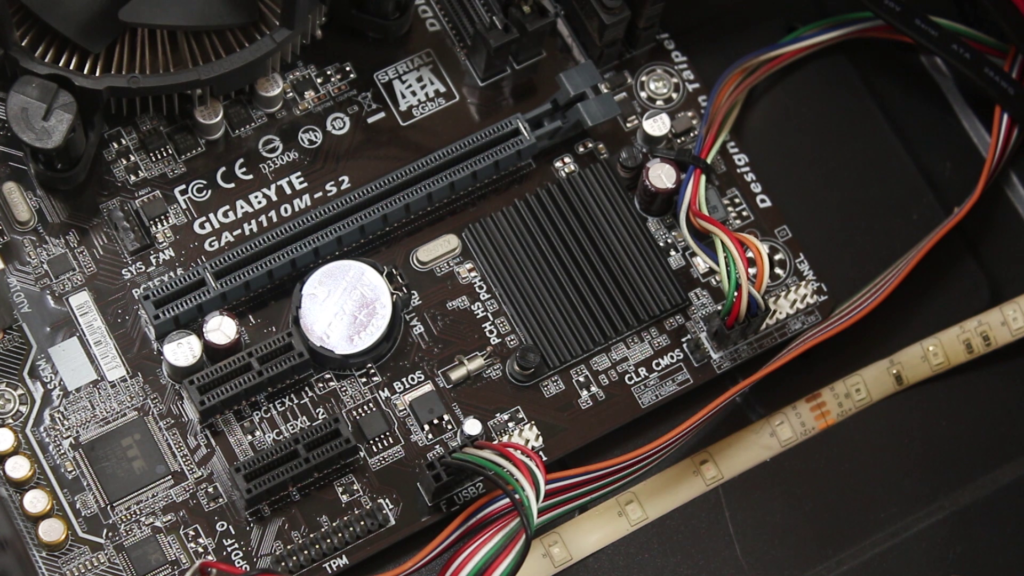
After removing the dead CMOS battery, you just have to put the new one in the battery socket by putting the label of the battery in front of you as shown in the image below.
For the laptops, you sometimes may need soldering skills to solder the proper battery with the wires if you want to go with a cheap solution otherwise you have to buy the whole wire and battery assembly like shown in the image below.
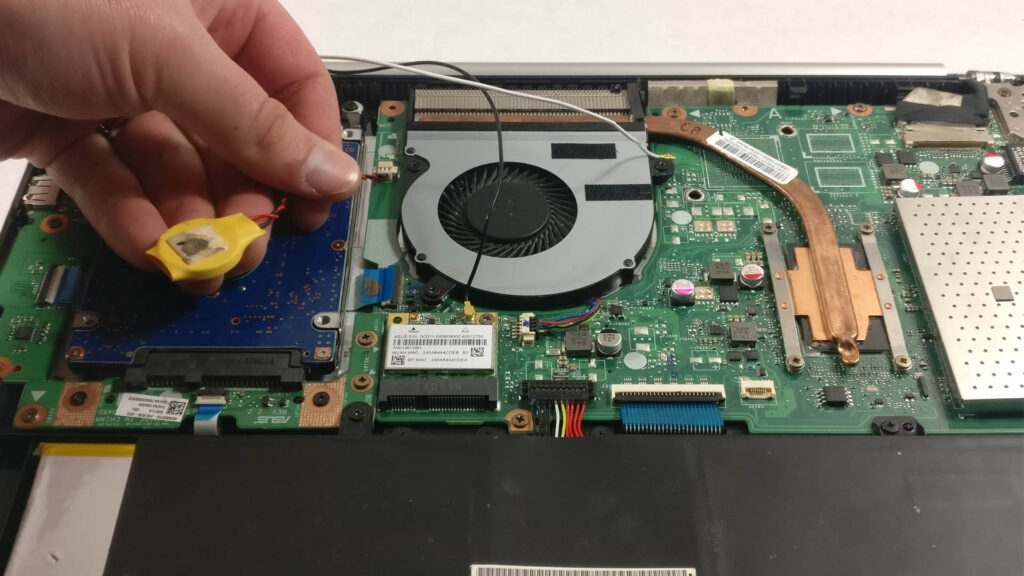
If you go with the buy solution then definitely you don’t need to solder anything. Just plug in the connector with the motherboard to get the job done.
Don’t Forget about Cleaning
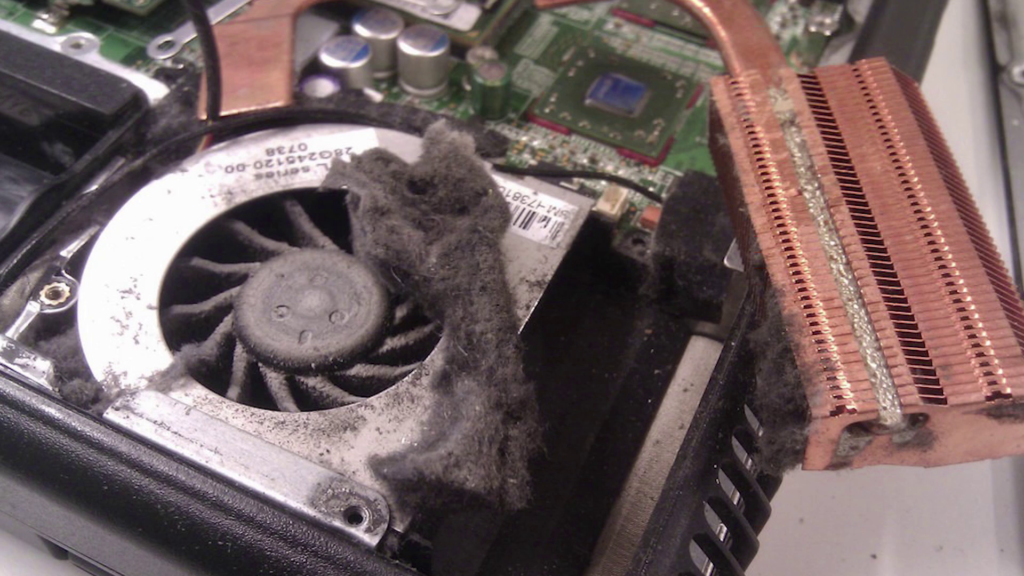
As you have already disassembled your PC then it’s better to clean all the accumulated dust inside your PC. The same goes for the laptop. To clean the PC/laptop, you can use a compressed air can or an air blower to remove all the dust particles. Cleaning is always important if you want your PC long-lasting.
Now, we are done. Just put the lid of your computer back in, connect all the required peripherals and push the power button. Let’s enter into the BIOS by rapidly hitting the Delete key from the keyboard when the motherboard manufacturer logo appears on the boot screen.
Configure all the BIOS settings
After entering into the BIOS, first, you need to set the date & time and then you have to tweak the XMP profile.
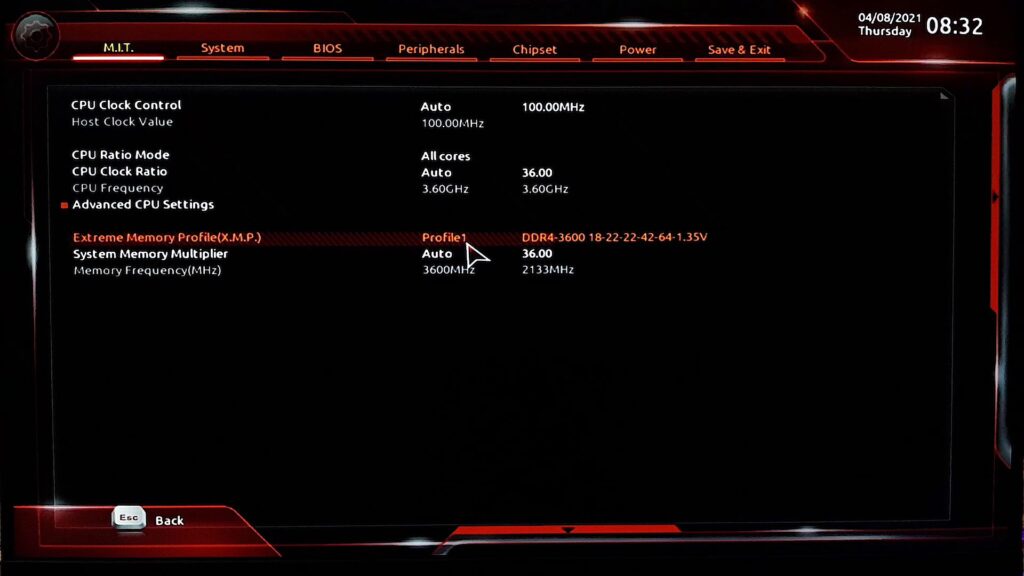
Read Now: How to Enable XMP to Use Your RAM at Advertised Speed?
Next, if you have overclocked your PC before then again, you have to readjust all the core voltages and multiplier of the CPU. If you have remembered those values then just set them as same as before but it can’t then you have to find the sweet stable point once again.
Important Points to Note If You’re Replacing CMOS battery!
You have to remember a bunch of things if you’re going to handle a li-ion battery.
1. Do not try to recharge the BIOS battery. These are not rechargeable batteries. If you are going to refill it then it may explode or may cause a fire hazard so be careful!
2. Don’t place the new battery in direct sunlight as it may explode because of sunlight. Keep it in a cool and dry place.
3. Do not insert the battery in the wrong direction in the battery holder otherwise you may damage your motherboard.
4. Finally, please keep these batteries away from the children.
Now, we can expect that you have successfully replaced the BIOS battery or CMOS battery of your computer. If you’re facing any difficulties then you can watch the video attached below. Anyway, we hope you have found this article helpful enough. If it really so then don’t hesitate to express your valuable thoughts in the comment section below. Thanks for visiting & appreciating our work.