
A few days back, we were struggling with storage space in our PCs but a little bit of research helped us a lot to solve the low disk space problem in our Windows machines. We know this is not the problem that only happened to us. Many of you may have struggled Windows 10 low disk space issue. So, what have we found from our research to free up disk space in Windows 10? What have we done to sort out this problem? Let’s find it out!
Must Read: Which SATA Port Is Best to Connect SSD in Your Desktop PC?
Remove ‘Windows.Old’ Folder
When you upgrade your Windows to the latest version, Windows automatically saves all the data into a folder called ‘Windows.Old’. This helps a lot if the new upgrade creates any problems or the old data from the previous Windows isn’t properly shifted to the newer version. In these scenarios, users can manually transfer their data from the previous Windows to the newer one.
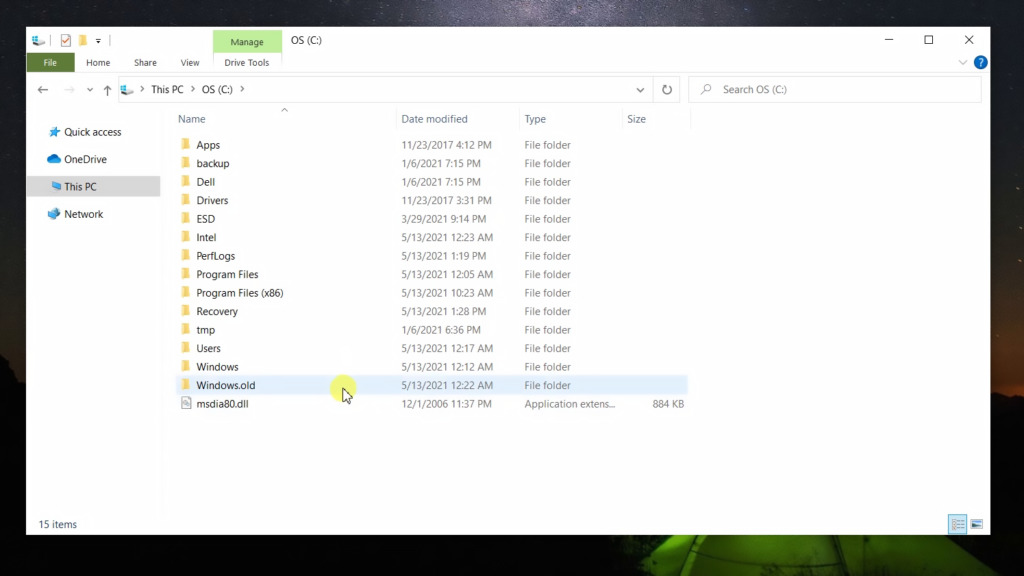
This system definitely helps a lot but if you are such a user who is always running out of storage space then it may not be beneficial for you. This ‘Windows.Old’ folder consumes so much storage space and thankfully, it can be removed pretty easily. However, if you don’t do it manually, it will delete automatically after a certain amount of time but you must not have that time as you want to free your disk space, right?
How to Delete ‘Windows.Old’ Folder?
To remove the ‘Windows.Old’ folder, just head to the Settings, navigate to System > Storage, and click on your primary drive. You can find a list of different categories along with how much space they’re using. Scroll down until you find Temporary Files, then click on it.
Lastly, mark the checkbox next to Windows Update Clean-up, mark the checkbox, and hit Remove Files.
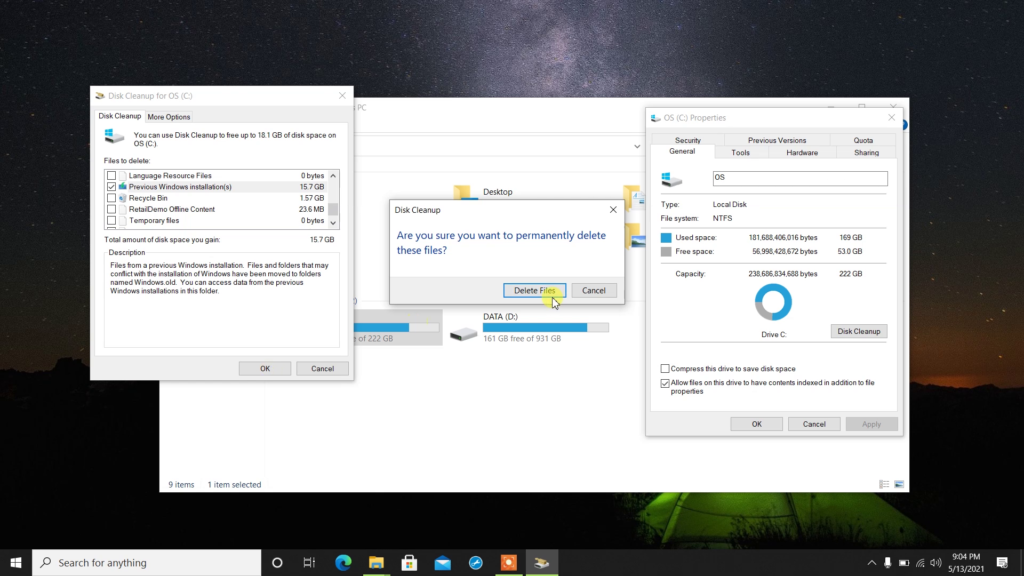
Definitely, you can remove the Windows.Old folder from the disk Cleanup too. Keep in mind, ‘Windows.Old’ folder can’t be deleted from the file explorer of Windows. To delete the ‘Windows.Old’ folder from the Disk Cleanup, just right-click on the ‘C’ Drive head to the properties and click on the ‘Disk Cleanup’.
Here clock on ‘Clean up system files’ which leads to scan the ‘C’ drive. Now find for ‘Previous Windows Installation’ and check on the box left side of it. You can uncheck on the other boxes then hit on ‘Ok’.
By allowing the permission – ‘Delete Files’ on the show dialogue box in the image below, you are good to go. After finishing the deletion, you may get a lot of free space in the ‘C’ drive.
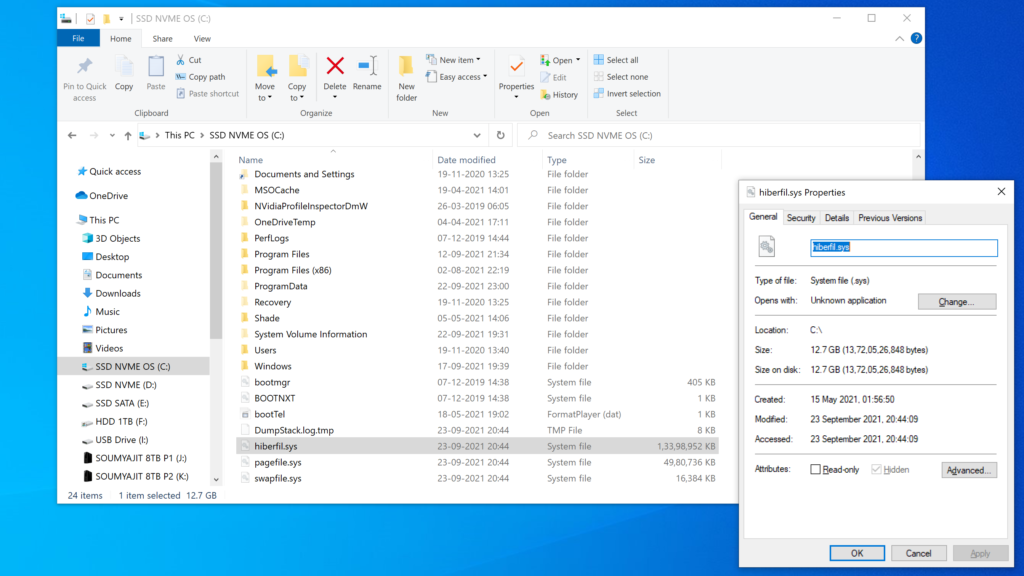
Delete Hiberfil.Sys to Free More Than 6GB!
If you have already activated the Hibernate Mode in Windows 10, then some space may be occupied on the ‘C’ drive. Basically, if you hibernate your PC, all your open documents and running applications are automatically saved to the hard disk. Hiberfil.Sys is one of those files which basically stores this data.
Read Now: How to Enable Hibernate Mode In Windows 10?
We recommend you disable the Hibernate Mode to free up some space in your computer If you don’t use that feature. This will automatically delete all the associated saved data from previous hibernations.
To disable it, search for Command Prompt in the Start menu search bar, right-click it, and choose Open as Administrator.
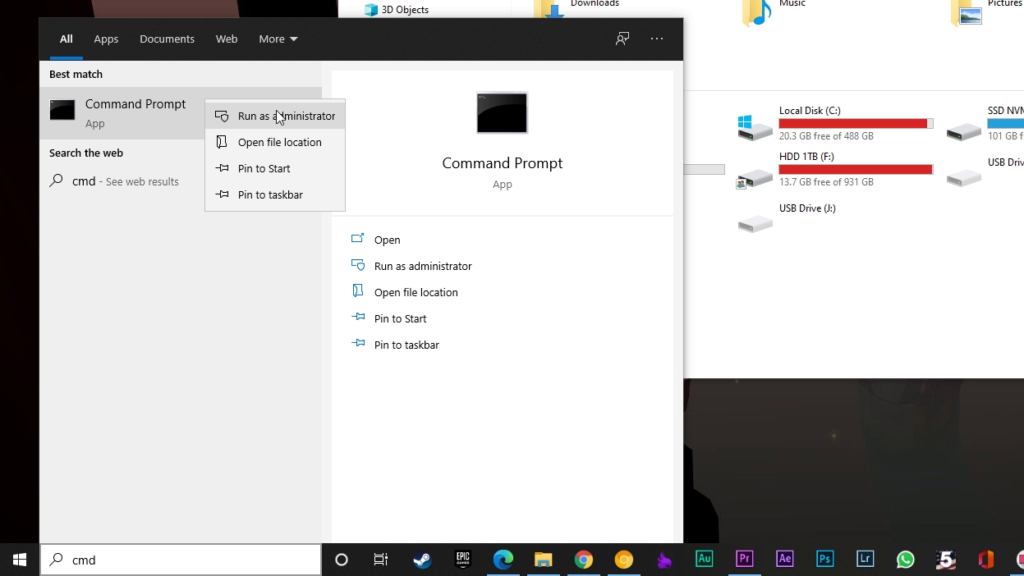
Type powercfg.exe -h off and press Enter. That’s it. You won’t see a notification or confirmation.
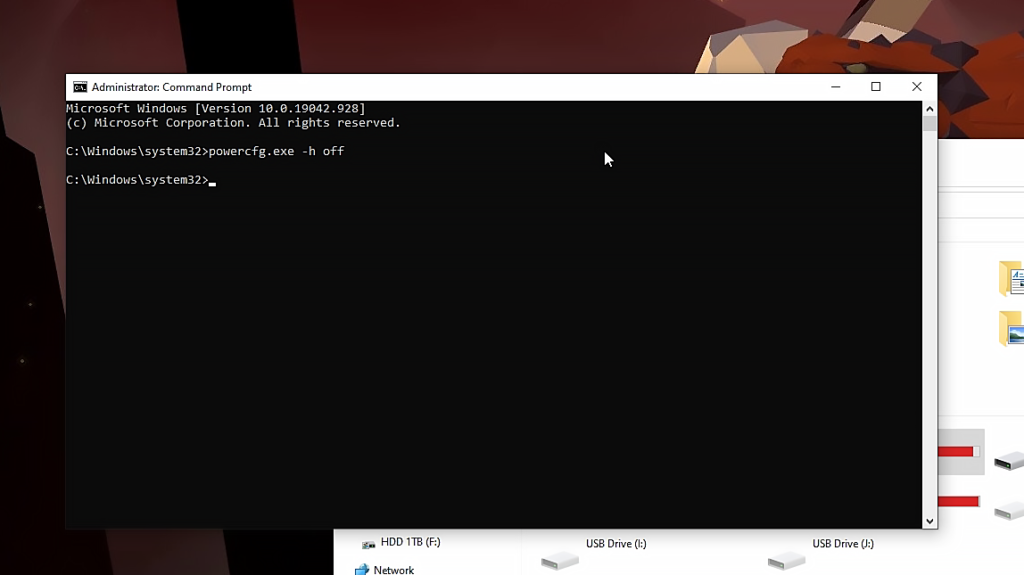
Now you have successfully disabled the hibernation mode in Windows 10 and if you want to enable the Hibernate mode then just type powercfg.exe -h on.
Clean The Temp Folder
As its name suggests, this folder possesses some files that your operating system only needed to exist temporarily while in use, but are now just available to waste space. It is pretty simple to remove all the temporary files from Windows 10.
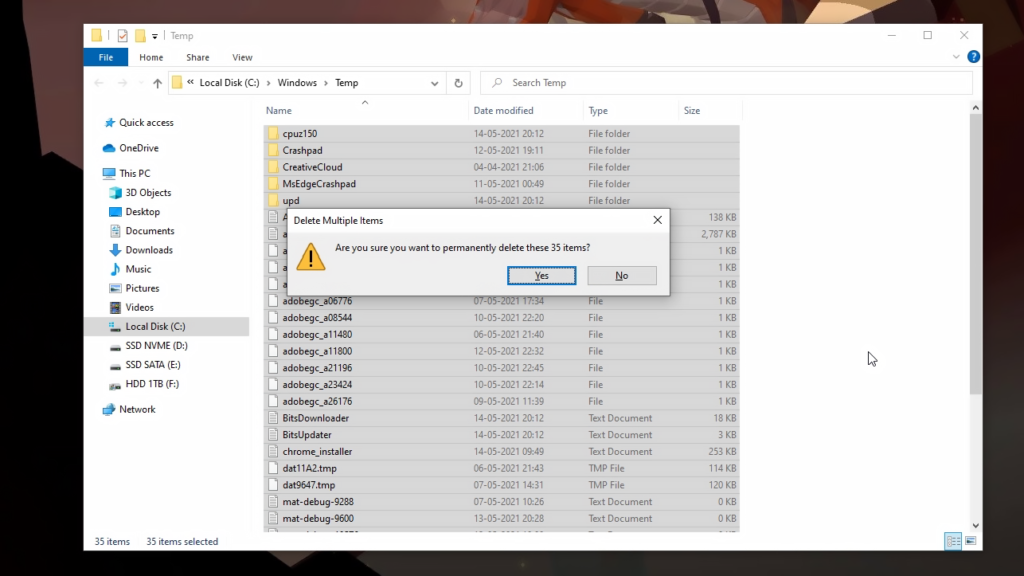
Just head up to Run, type ‘Temp’, and click on ‘Ok’. Now select all the temporary files by pressing the Ctrl+A button from the keyboard and use the Shift key+Delete key to remove all the temporary files from Windows.
Have You cleaned the Recycle Bin?
Yes, pretty common. If you delete anything from Windows without pressing Shift+Delete then all the files and folders are sent to recycle bin. If you do not clean them, they will occupy so much space from your computer.
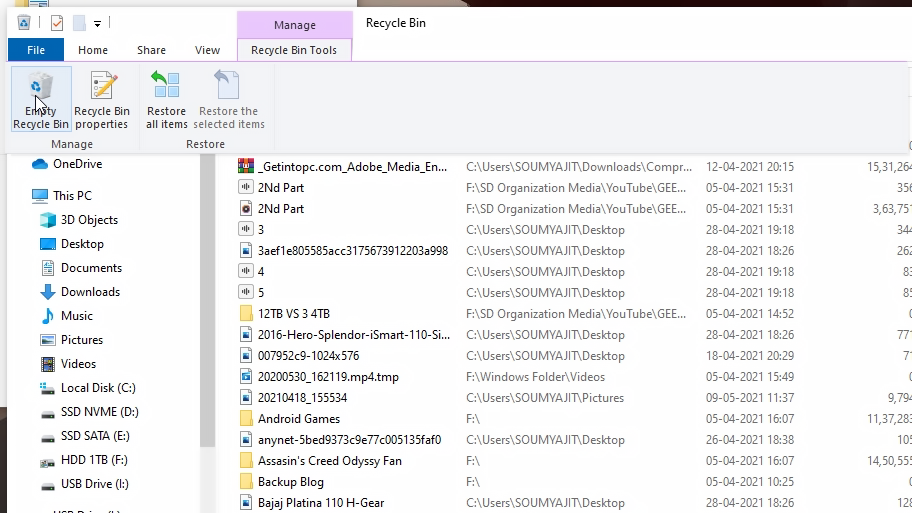
To remove all the files from the recycle bin, just open the Recycle Bin and click on ‘Empty Recycle bin’ available under the ‘title bar’. Now you have been asked for confirmation. Select ‘Yes’ and there you go. All the contents from the Recycle Bin will be removed.
Clean all the DUMP files
In case you don’t know, Windows always collect a copy of the computer’s memory if the system is crashed for some reason. By analyzing the information, we can easily diagnose and identify the problem that led to the crash in the first place. You have probably noticed, when the Windows BSOD problem occurs, Windows informs us “just collecting some error info”. Basically, in that time, Windows takes all the information from the RAM and stores it into some ‘dump files’.
Windows creates several different types of dump files like Complete Memory Dump, Kernel Memory Dump, and Small Memory Dump. Depending upon the types, the size of the Dump files may vary.
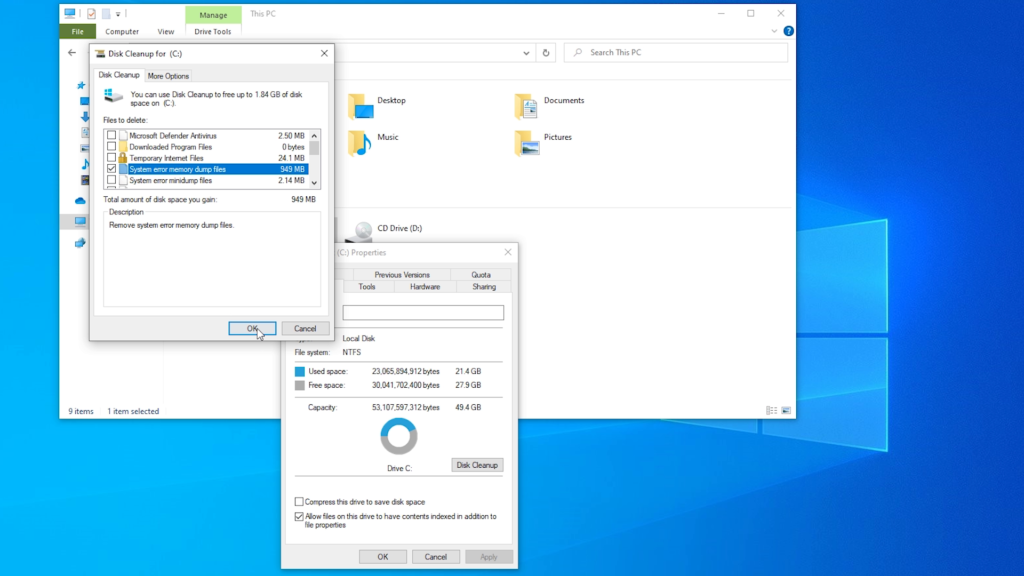
If you really want to provide a breathing space to your computer then you can delete these memory dumps which are mostly not understandable for a casual user. To clean all the dump files, head to the Disk Cleanup, find, and click on the check box of ‘System Error Memory Dump Files’. Finally, click on ‘Ok’. That’s it. All the memory dump files will be deleted and you may get a bit of extra space on your storage to store your data.
Clear the Update Cache
This is important! After delivering updates, Windows store those files. In case you have ever been forced to reapply for an update, it saves downloading them again. This is definitely a pretty good feature but these update files waste so much space. You can remove all of these files from the ‘Disk Cleanup’.
Just open the Disk Cleanup and tick ‘Windows update cleanup’ and click on ok. Again you have to provide permission to remove these cache files and you are done.
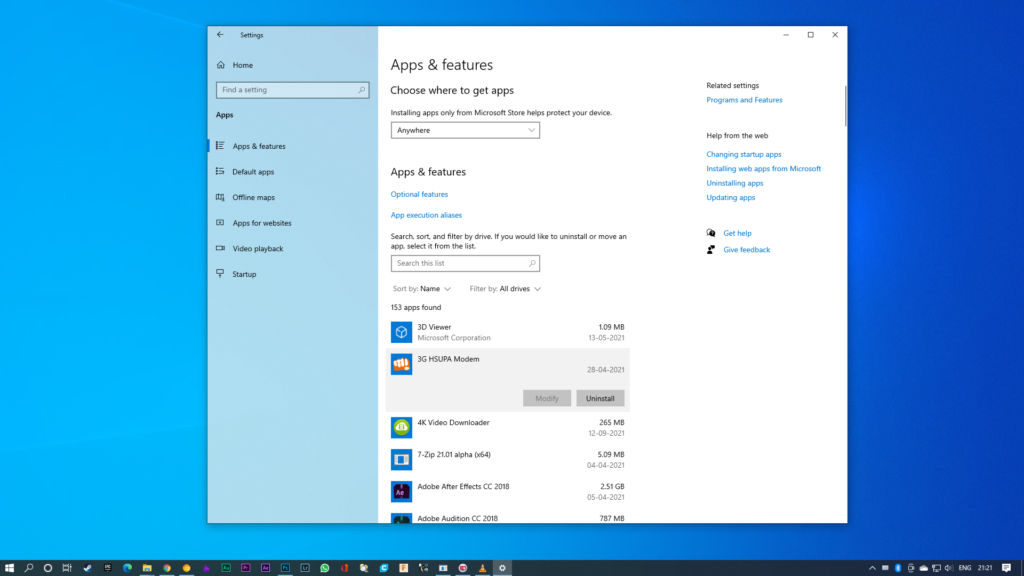
Delete all the Unnecessary Programs
We have installed so much bloatware on our computer sometimes by mistake and sometimes just for testing purposes that’s why we recommend you to check Windows ‘Add Or Remove Program’ for any unnecessary piece of software. If available then remove them. This way, you can definitely gather some space in the storage.
Don’t Forget About Download Folder
For day-to-day needs, we download so much content on our PC. After using them, we have to remove them otherwise over time the download folder expands to such an extent that you can’t imagine! Most importantly, they might be pretty useless for you. So it is better to check the download folder now & then and delete all the unnecessary files that you have downloaded before.
Bottom Line…
Therefore, these are the best steps you can follow to free up disk space in Windows 10 of your computer. If you don’t want to spend money on a new storage solution on a regular basis then you have to learn to delete the unnecessary files especially photos and videos because nowadays, digital media contents are large enough that one video single-handedly occupies over 10GB from your storage! So, it is better to remove those contents if you don’t need them anymore. Anyway, we hope you have found this article about how to free up disk space in Windows 10 helpful enough if it really so then don’t hesitate to express your valuable thoughts in the comment section below. Thanks for visiting & appreciating our work.