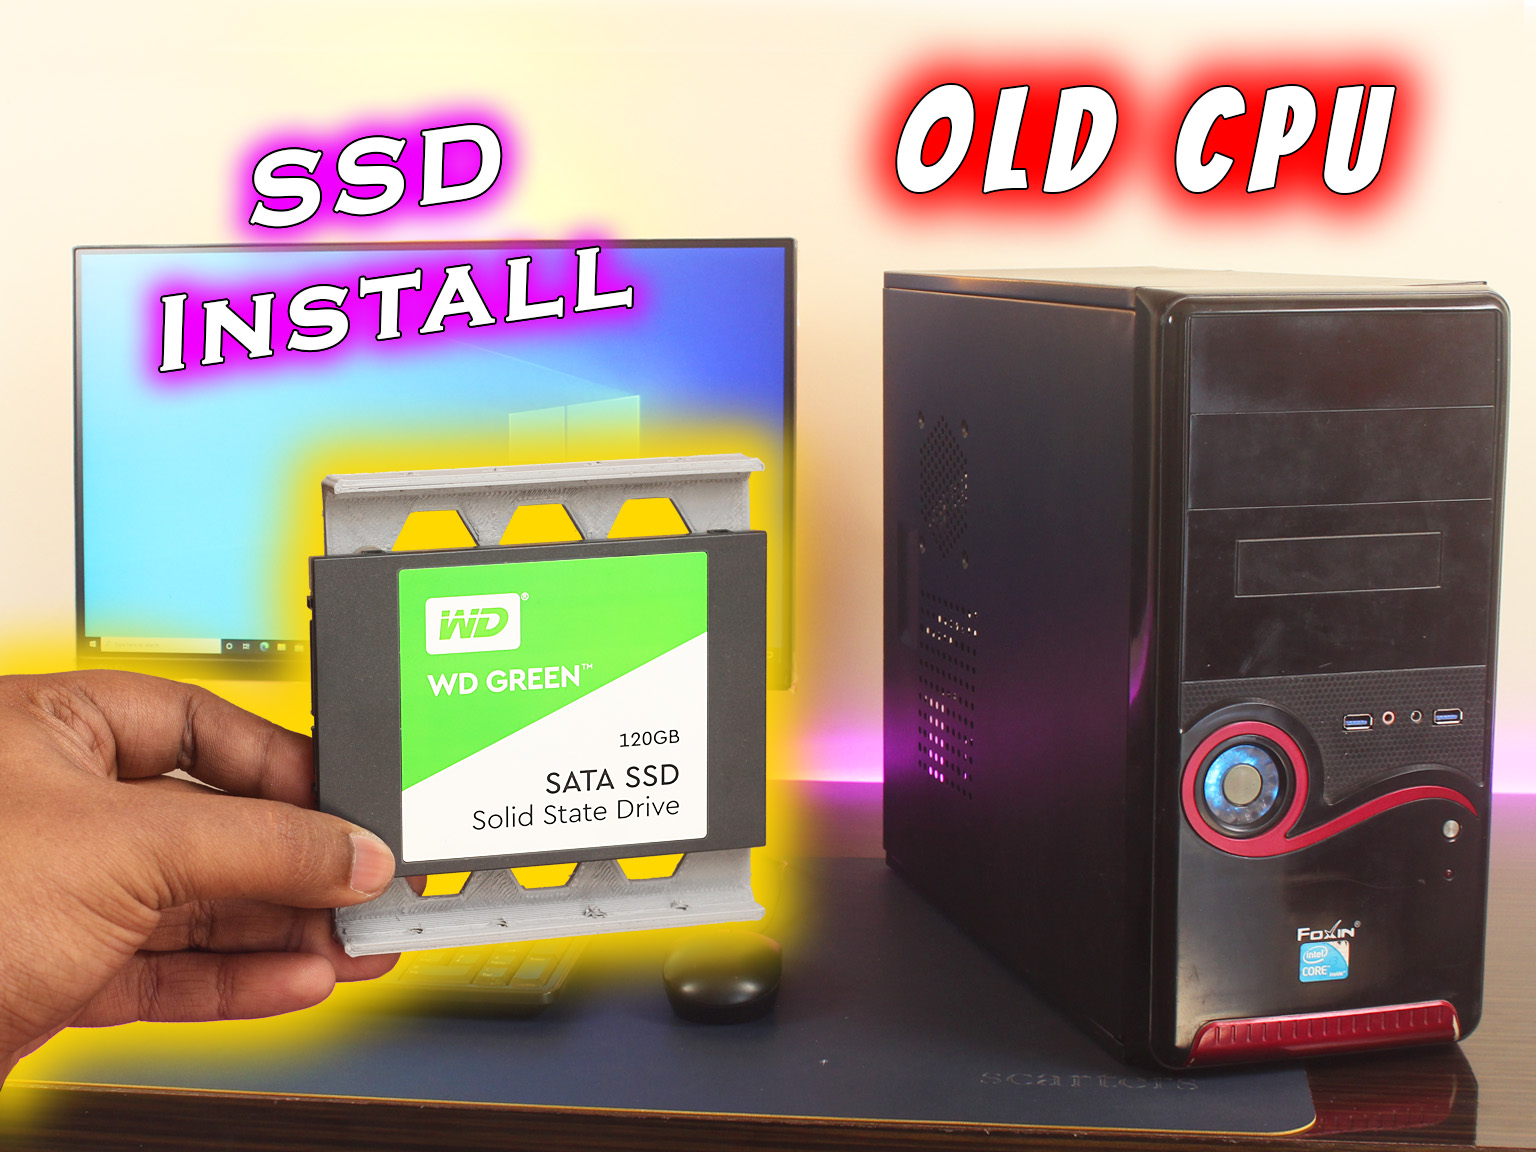
Old is Gold but this isn’t actually true for our computers. As it becomes older and older, it loses its performance and what remains is a piece of junk. However, we may solve it by doing a couple of steps and make our old PC back to life. One of the most important steps is to install an SSD. It’s not so easy as most old computers don’t have any SSD slots in their cabinets and another issue is with the SATA port where we will going to connect the SSD. In the early days, there are not enough markings regarding which SATA port supports which revision of SATA. So, we have to find it with our own. Anyway, let’s install the SSD.
How to Choose an SSD?
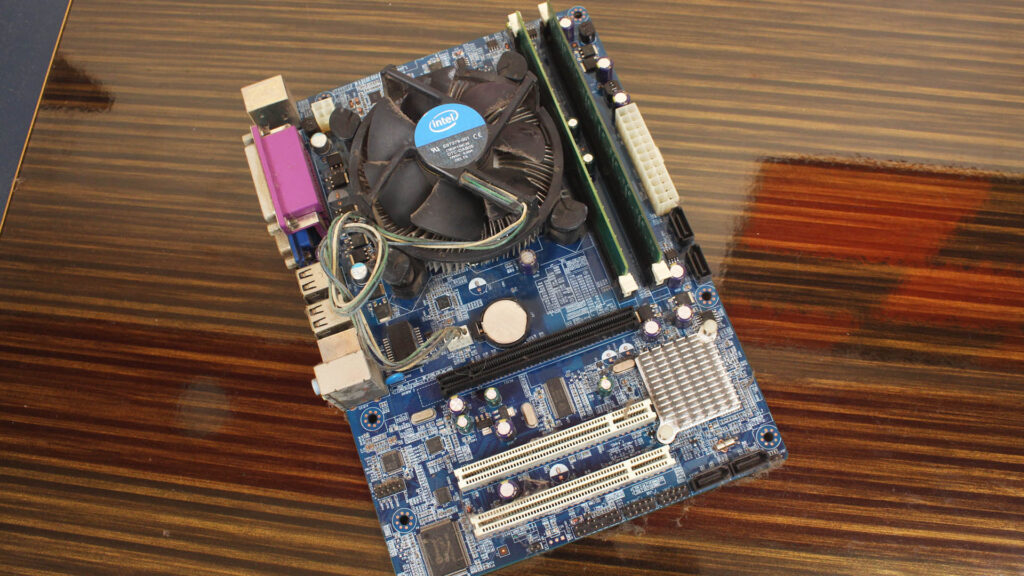
It’s very simple to choose an SSD in those kinds of situations. Obviously, in the old motherboard, as shown in the image below, there’s no option to connect an NVME SSSD.
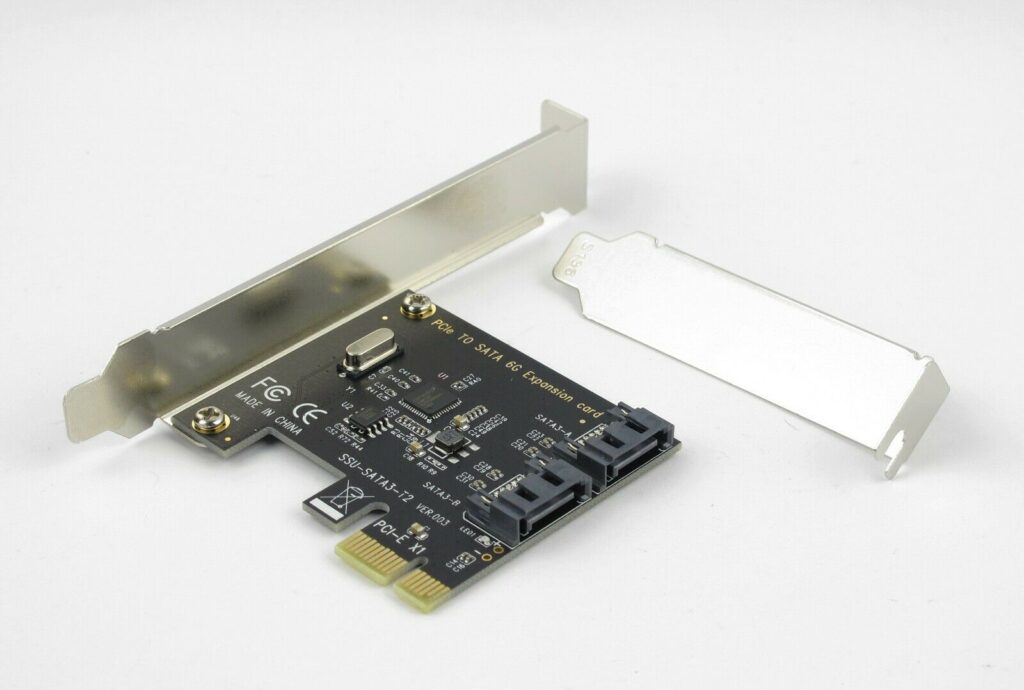
Although it’s possible to use expansion cards that could be placed into the PCI-E slot and the NVME Drive will be inserted in the right slot of the card.
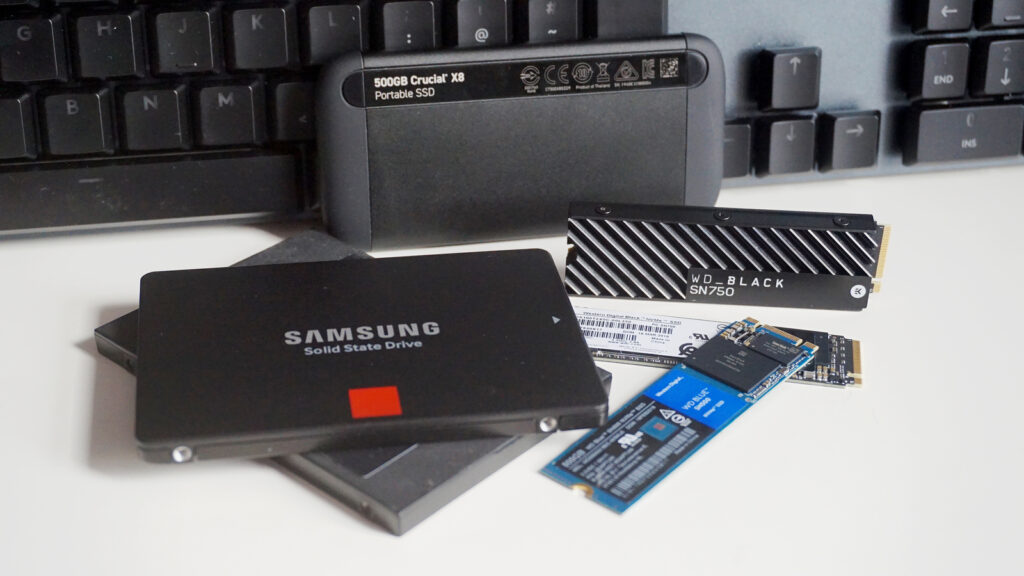
But using an NVME Drive in such an old system is totally pointless because the system doesn’t have the capability to use such a high-performance drive. So, we stick with a SATA SSD. It’s cheap, easy to use and if it’s needed then it could be found in a higher capacity like 1TB and such.
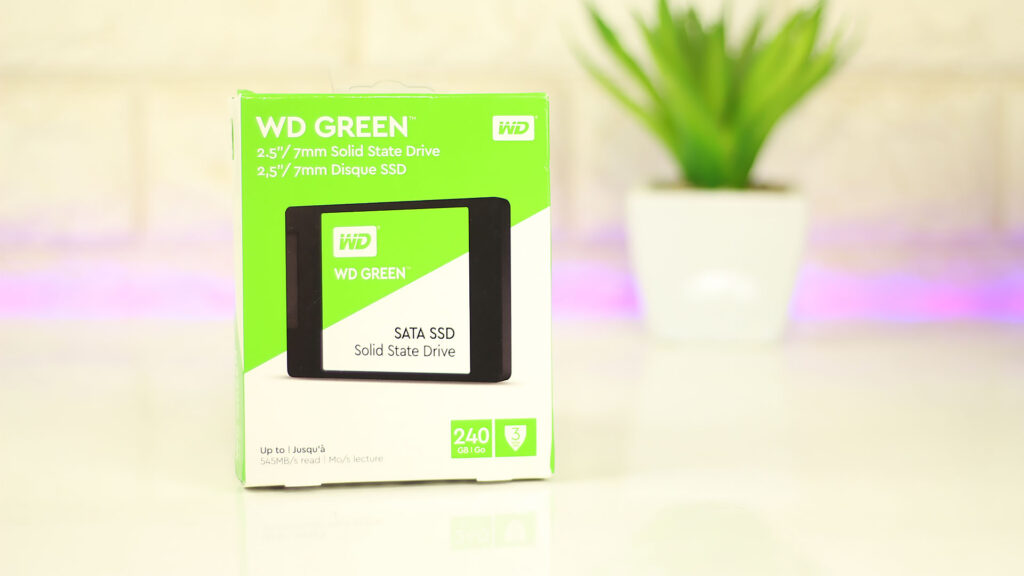
The SSD I am going to use is WD Green 120 GB SATA SSD. According to the specs, it could reach up to 540MB/s of read and write speed but it’s very doubtful that it could even achieve such a performance as it will be limited because of the older revisions of SATA that the motherboard is using.
Install SSD in Old Computer Case
The motherboard I am going to use was bought back in 2009. So, there is only one major problem, back then SATA 3 was not widely popular or adopted by the motherboard manufacturers so, this motherboard has no SATA 3 ports.
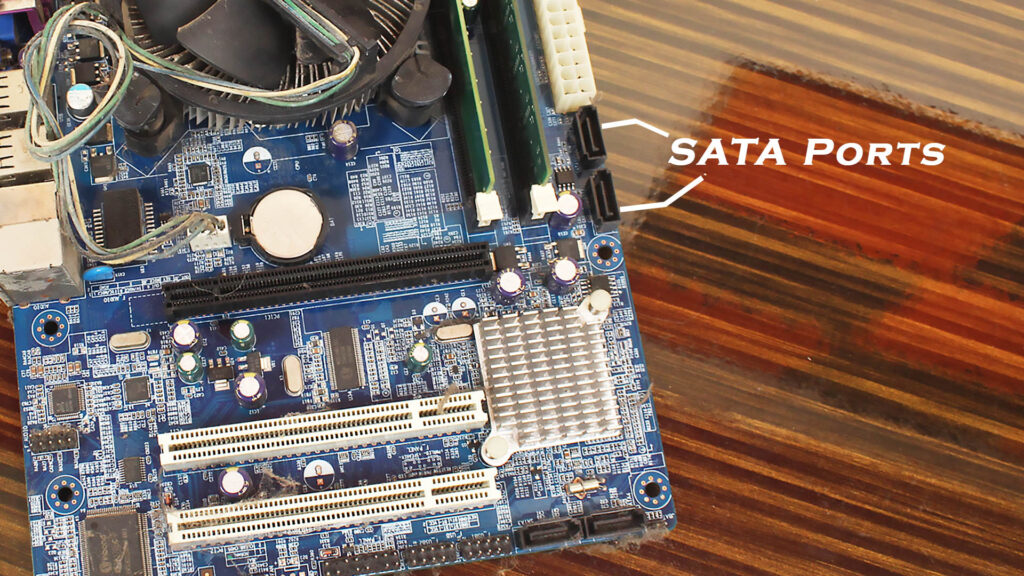
That means, the maximum speed of the SSD cannot be achieved but there is a solution. You can buy a PCI-E expansion card which is not only going to available SATA 3 but also in this way, we got some extra SATA ports. In this case, however, I’m not going for that way to add up many complications instead I will directly connect the SSD with the motherboard.
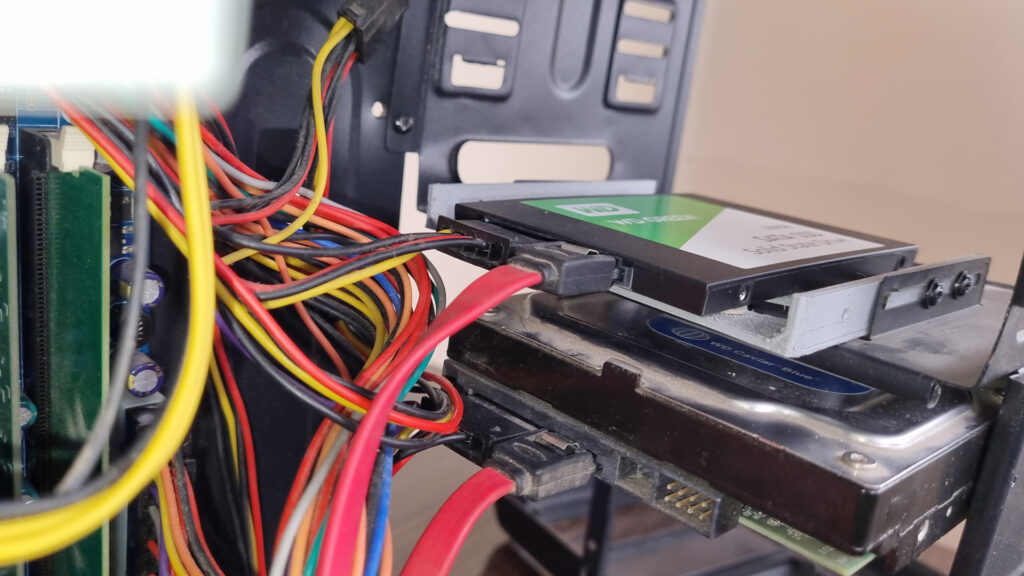
(Connect SSD With MB)
Definitely, the maximum speed of the SSD is limited but it’s way better than installing an Operating System in the Hard Disk drive.

How To Install SSD?
The cabinet that this system possesses doesn’t have any SSD slot which is quite obvious because back in 2009, SSD’s popularity wasn’t rapidly increased. And SSDs come in a 2.5inch form factor.
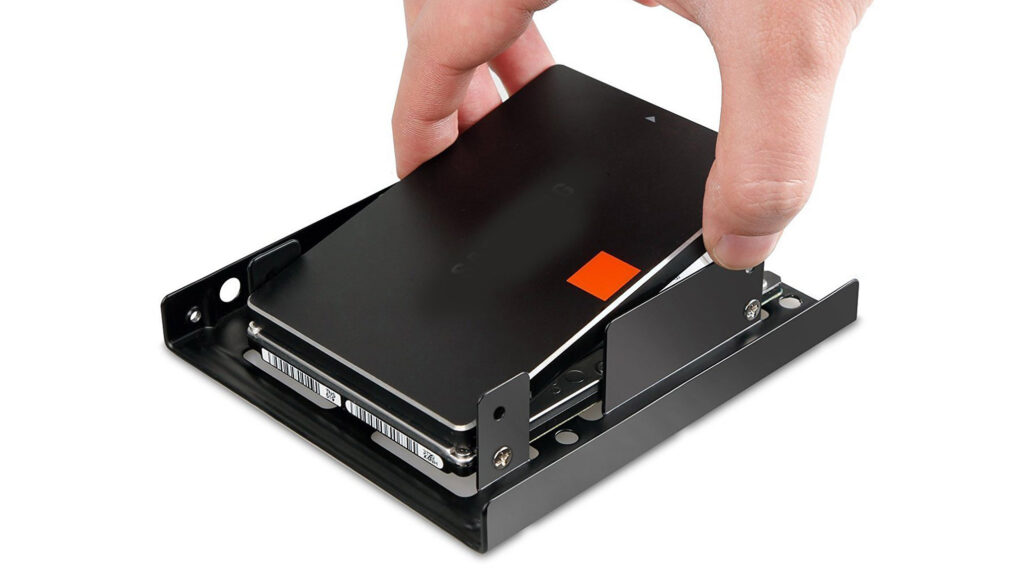
So, in a budget PC case like this, one didn’t offer that luxury but it has a lot of headroom to mount 3.5inch HDDs. Obviously, holding an SSD in mid-air without any support only by relying on two screws from one side is definitely not a good way to go.
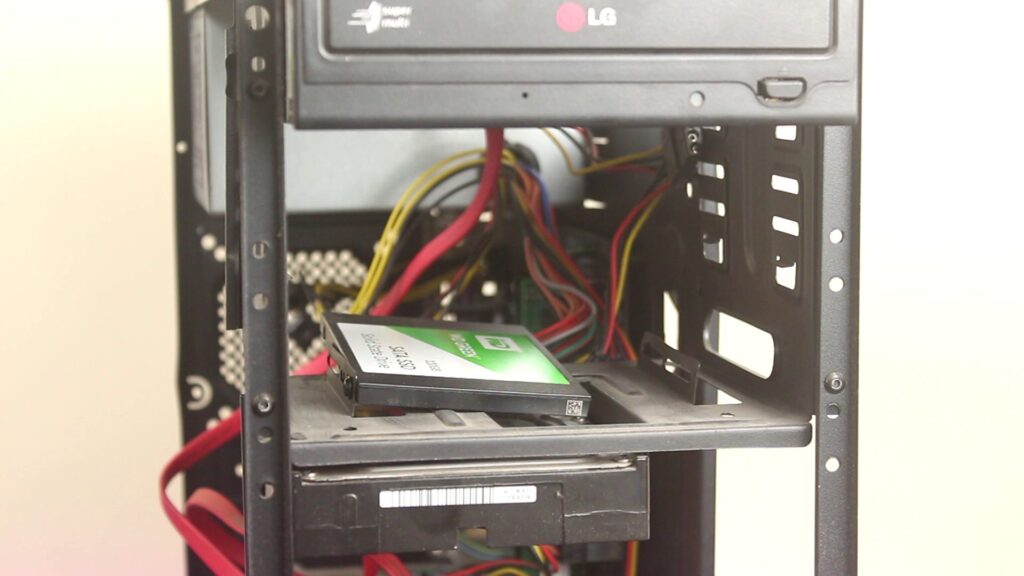
To tackle these situations, 3.5inch to 2.5inch converter comes into place. You just need to screw the SSD on the 3.5inch to 2.5inch SATA converter and the converter will be slid into the PC case and screwed it.
Now, all we have to do is set the SATA Power connector of the PSU to SSD and the SATA data connector of the SSD will be directly connected with the Motherboard.
How to 3D Print 3.5inch to 2.5inch SATA Adapter?
Obviously, you can buy an adapter to install the SSD in the CPU but it’s not much convenient if you’re owning a 3D printer. I found this converter in Thingiverse.
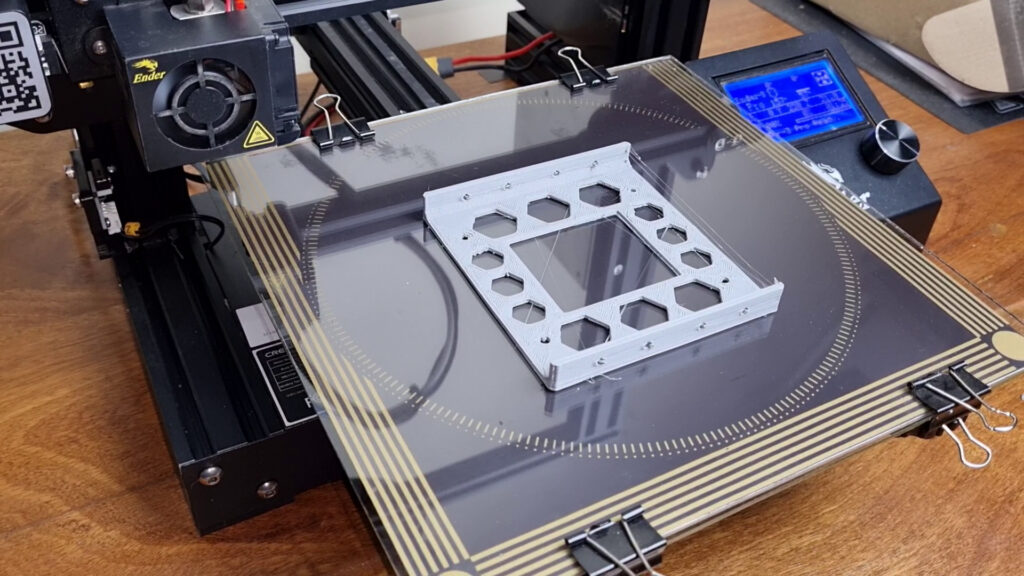
It has everything that we’re looking for. To save the filament and for the air circulation, there are some holes made in the converter.
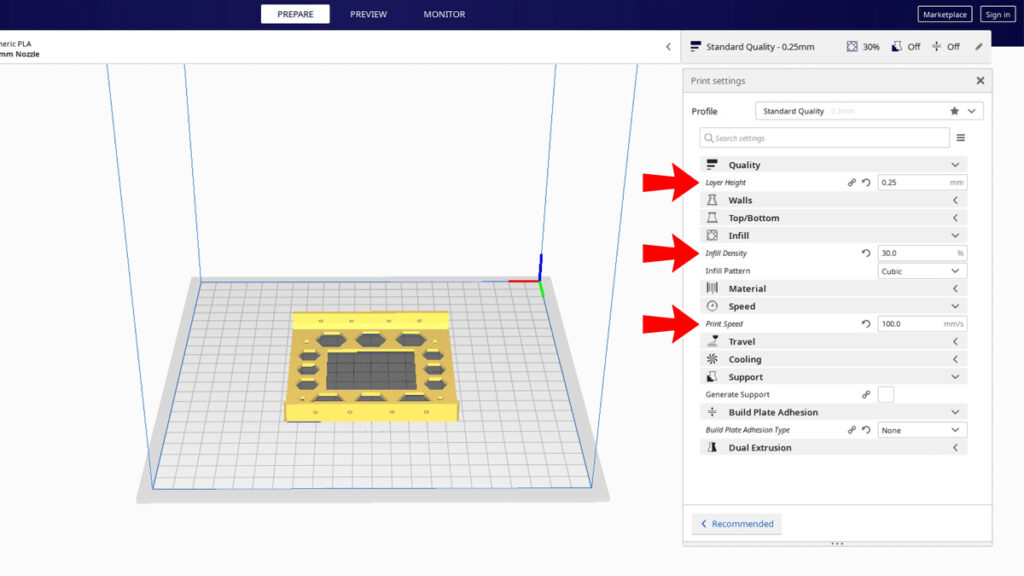
After downloading the file, all we have to do is to slice the model with 0.25mm layer height, 20% infill, and 100mm/s of speed.
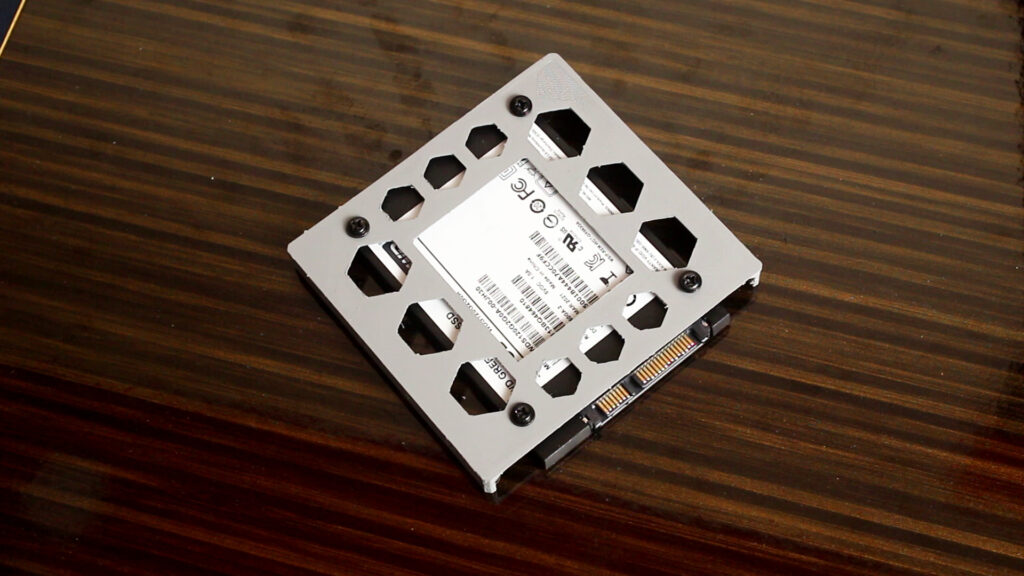
After printing, we have to set up the SSD on top of the converter with the screws sandwiching a washer in the middle of the enclosure body and the SSD.

Installing Operating System
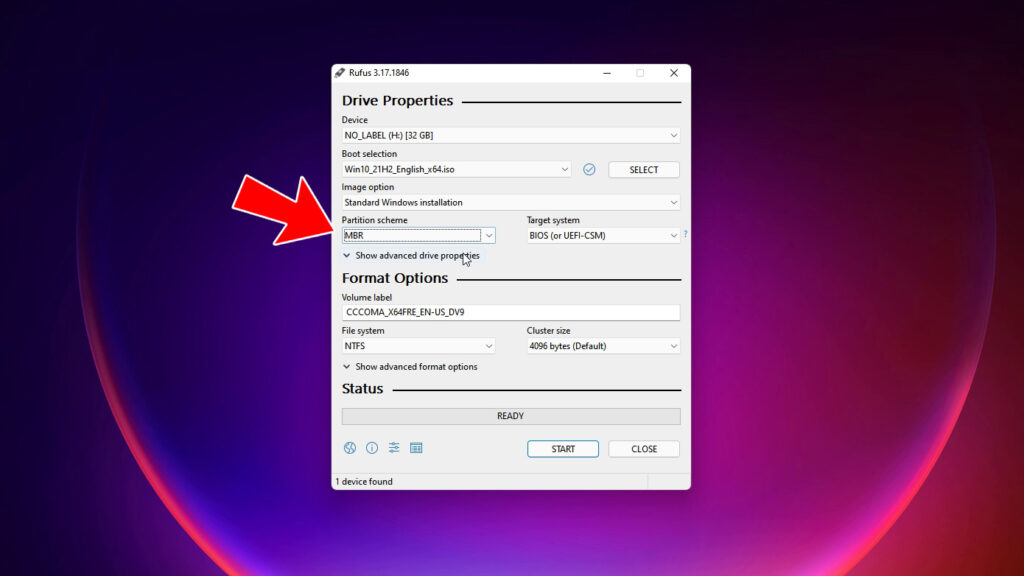
It’s your choice which Operating System you’ll going to use. I prefer Windows 10. I have installed Windows 10 from a USB flash drive. As this motherboard uses BIOS not the UEFI so, during copying the Windows to the flash drive, we have to change the ‘Boot Sector’ to MBR otherwise Windows cannot be installed. You can use ‘Rufus‘ to make a bootable drive. ‘Rufus’ offers the freedom to choose ‘Boot Sector’. After creating the bootable drive, the installation process is as it is, as we know to install Windows on our PC. Just be careful about the fact that you have to install the Operating System in the SSD, not in the Hard Disk.
At the Bottom Line…
Installing SSD in an unsupported CPU aka Desktop PC isn’t rocket science. Just buy a 3.5inch to 2.5inch converter and we’re good to go. Creative people, however, have the opportunity to 3D print the design to save a bit of money. As always, if you find this article helpful enough then don’t hesitate to express your valuable thoughts in the comment section below. Thanks for visiting and appreciating our work.